Chatbot in Python-Part 1

According to Gartner, “by 2022, 70% of white-collar workers will interact with conversational platforms daily.”
According to an estimate, more than 67% of consumers worldwide used a chatbot for customer support in the past year, and around 85% of all customer interactions will be handled without a human agent by 2020.

These are not mere estimates but the reality. In today’s world most of us in our business or daily activities are dependent on virtual assistants.
Consider a scenario where a customer wants to fix some of their issues and then lands on a chatbot where just by describing their issue, they can find a suitable fix of their solution. Even if a suitable fix is not possible, they can create a ticket for the same and can check their ticket progress. In this way, ITOA task becomes seamless and hassle-free.
Chatbots have not only made it possible but have opened a new gateway to dealing with some of the time-consuming tasks with great ease and customer satisfaction.
In this post (Part 1), we are going to see how we can develop chatbots.
Many frameworks can be used for chatbot development, and in this article we are focusing on developing a chatbot in python using Microsoft Bot Framework.
Before directly diving into the development, let us first start by setting up all the requirements which will be required in the development of chatbot using bot SDK.
- Python 3.6 or 3.7
- Bot Framework emulator
- git-for version control
Setting up an environment for development
Let us start by setting up a virtual env in python. For this, we need to install virtualenv using pip command

Install virtualenv
Once virtualenv is installed successfully, create a virtual environment by using the following command:

Activate the virtual environment

For windows

Activate the virtual environment in windows
Installing the required dependencies
- To develop bot locally in python, there are some packages like botbuilder-core, asyncio, and cookiecutter which need to be installed

Installing required packages
2. Microsoft Bot framework provides some predefined templates to get started quickly. In this step, we use the cookie cutter to install an echo bot template which is one of the basic bot service templates.

Downloading the pre-defined bot service template
3. Now we navigate to the Wechat folder where we save our bot and install all dependencies mentioned in requirement.txt that are required to run out bot.
4. Now after we have installed all the dependencies, we will finally run our predefined bot template by running the app.py file present in the WeChat folder.

Running echo bot template
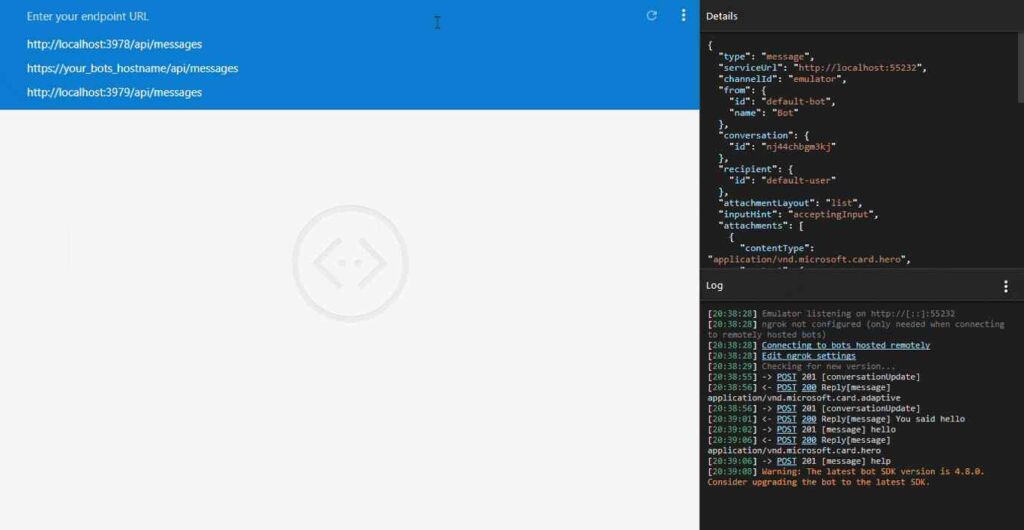
5. We open the bot emulator and connect to localhost on 3978 port number

Bot echoing back the response given by the user
This finishes our steps of installation and running our bot template.
But, wouldn’t it be great if as soon as a new conversation starts or a user is added to the conversation, the bot should send a message on its own letting the user know more about its feature or its capabilities, as the primary object of a bot is to engage your user in a meaningful conversation?
So, now we will understand how we can add a welcome message to our existing bot template.
But wait, before that, it is important to learn how a bot uses activity objects to communicate with its users. So, let us first look at activities that are exchanged when we run a simple echo bot.

Bot working process
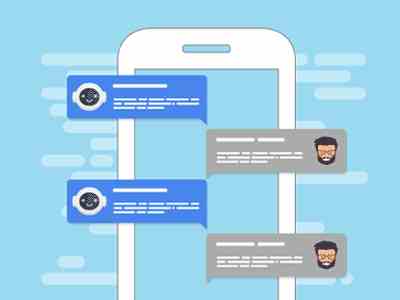
Two activity types take place as soon a user joins the bot and sends an input to it (refer above image):
- ConverstationUpdate- Bots sends an update message when a new user or a bot joins the conversation
- Message- The message activity carries conversation information between the end-user and the bot. In our case of Echo bot, it is a simple text which the channel render. Alternatively, the message activity can be a text to be spoken, suggested action, or cards.
From the above diagram, we notice that in a conversation, people may speak one at a time taking “turns”. So how do we implement this case of a bot?
In the case of Bot Framework, a turn consists of a user’s incoming activity to the bot and the activity which the bot sends back to the user as an immediate response. But the question lies here is how the bot handles the user incoming activity and decides which response is to be sent. This is what we focus on in the bot activity stack where we see how a bot handles the arrival of incoming message activity.
When the bot receives an activity, it passes it on to its activity handlers, under which lies one base handler called turn handler. All the activities get routedthrough there. The turn handler sees an incoming activity and sends it to the OnMessageActivityAsync activity handler.
When we create the bot, the logic for handling and responding to messages will go in the OnMessageActivityAsync handler and the logic for handling the members being added to the conversation will go into OnMembersAddedAsync handler, which is called whenever a member is added to a handler. I have discussed these two handlers, in brief, to know about them more please follow this link.
So, to send the welcome message to every new user added in the conversation, we need to apply logic on the OnMembersAddedAsync. For that, we create a property welcome_user_state.did_welcome_user to check if the user was greeted with a welcome message. So whenever new user input is received, we check this property to see if it is set to true, if the property is not set to true, we send an initial welcome message to the user. If it is set to true, based on the content of the user’s input this bot will do one of the following:
- Echo back a greeting received from the user.
- Display a hero card providing additional information about bots.
Instead of sending a normal text message to the user we are going to send an Adaptive card to the user as a welcome message.
In this blogpost, I am not discussing much on adaptive cards but I suggest reading this article to know more on that.
So, for now, we need to create an adaptive card and send it as an activity to the user to be seen on the channel, once a new user has been welcomed, user input information has been evaluated for each message turn, and the bot has provided a response based on the context of that user input.
Code snippet to send a Welcome message to the new user Now we run the above code to see if the user is greeted with a welcome message when a new user is added to a conversation.

Bot Emulator Snippet
Conclusion:
In this article, we have seen how we can use python with Microsoft Bot Framework to create an efficient chatbot, and how we can send a welcome message to a new user.
In the upcoming articles, we will learn how to implement the concepts of Dialogs, intents, and entities using LUIS and Microsoft Cognitive Services.
To check out the above code, follow the link to my Github repo.